
Last Update: Sep. 28, 2026
I’ve been working with network segmentation for years. It’s the type of enterprise geek speak that when I mention it, people just kind of tune it out unless they are in the industry. I get it. It sounds like something that you only find in datacenters, hospitals, and server rooms. Not something you’d find in a typical house in Portland.
If you are picturing racks of servers and various network devices with tons of blinking lights, you aren’t alone. This is the mental picture most people get when they think of network segmentation. It’s the wrong one, but still the most common one. That’s probably why when I mention home network segmentation, everyone thinks it’s way harder than it actually is.
You don’t need enterprise gear. While I do have nicer stuff than your average ISP provided router, that is because our ISP charges us $15 a month to rent a router from them. Doing the math, I was able to buy a much nicer router than what the ISP provided and it cost less than what the ISP was charging me monthly to rent from them over the course of a year.
That is a rant about being overcharged by your ISP that is beside the point here. My personal setup includes three separate Wi-Fi networks: one for my personal devices, one for guests, and one for smart home devices. It’s simple and you don’t have to listen to my geek speak about VLANs, managed switches, and command lines….unless you really want to. In my experience, unless you are in the industry, you probably don’t.
This guide walks you through what home network segmentation actually means, why it fits naturally with the digital minimalism mindset, and how you can easily setup the three-network approach I use, using hardware that most people already own or can afford.
What Home Network Segmentation Actually Means
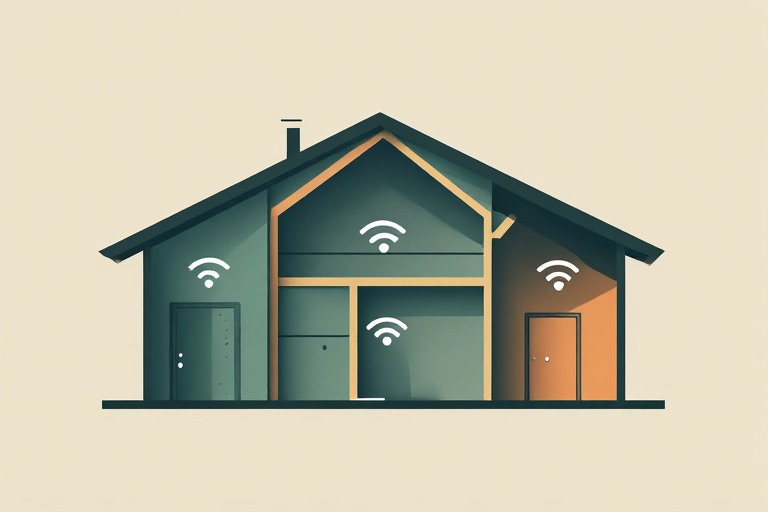
Network segmentation in its simplest terms is just splitting one network into smaller pieces and then controlling what each piece can see. If that seems a little confusing at first, don’t worry. I’ll break it down to make it a bit easier to understand.
Let’s take a look at your typical home network. Maybe you’ve named your wireless network Serenity. On this network, everything shares the same Wi-Fi network by default. This means that your laptop, your smart thermostat, your guest’s phone, and that doorbell camera that you bought on Temu for $10 from some questionable company are all treated as equals on your network and they can all talk to each other.
It might help to think about it like a house with no interior doors versus one with locks on each room. An unsegmented network is that first house. Getting onto the Wi-Fi will get you access to everything in the house. With a segmented network, each type of device gets its own room, and your home router will decide what is allowed to move between the rooms.
Now that you know what it is, you’re probably wondering Why should I care? I want everything on my network to talk together!
The truth is, you probably don’t want everything to talk to each other. The weakest device on your network is what sets the risk level for everything else. It’s probably not going to be your laptop or phone that is first to get compromised. Remember that $10 Temu doorbell camera I mentioned earlier? It’s probably going to be that device that gets compromised. I hear you saying “But I don’t have a $10 Temu doorbell camera!”
No, but if you have smart devices, those are generally the weakest link in your network. They are generally quickly built and not setup for security. They are also the least likely to be updated, so they run the biggest risk of being compromised. Segmentation contains that risk rather than letting it spread to your personal devices.
Now before we get too far down this path, let’s talk about smart devices. These can range from speakers to light bulbs to mattresses. They cover a wide range of things and these are usually devices that perform some kind of simple function that can be controlled and or monitored over the network. Smart devices are often called IoT devices, or Internet of Things devices. This is important because IoT and smart devices are going to be used interchangeably in a lot of things you read. So just know if you see something about IoT, it’s generally about smart devices.
Why Digital Minimalists Should Care

So much of digital minimalism gets framed around apps, screen time, fewer notifications, fewer feeds, and more intention about what gets your needs. That is great, but that same thinking needs to be applied to the layer beneath all of it. Every smart plug, streaming stick, and voice assistant in your home is a device that is phoning home to someone else’s server’s on its own schedule. Home network segmentation is a way of making that relationship intentional again, which is far better than accepting the manufacturer default of trust everything, restrict nothing.
Now you may think, well I’m a digital minimalist, I’ll just get rid of all of that stuff. Alright, that is one way to take care of it. Whether or not it’s the correct way is up to you. I personally can’t just get rid of my smart thermostat because it’s proprietary to my HVAC unit, so compensating controls are such as network segmentation quickly become the best option.
This also is part of the concept of data sovereignty. If you’re into self-hosting, then you’re familiar with this concept. When you’re running a NAS or home media server to keep your data off someone else’s cloud, an unsegmented network partly undoes that work. All it takes is a single compromised device sitting on the same network as your NAS to get a direct path to all the data you were trying to keep local.
Splitting your network into pieces closes that gap. It’s the networking version of decluttering. It doesn’t necessarily mean fewer devices, but it does mean clearer boundaries about what each one is allowed to touch.
Managed Switches and VLANs…Oh My!
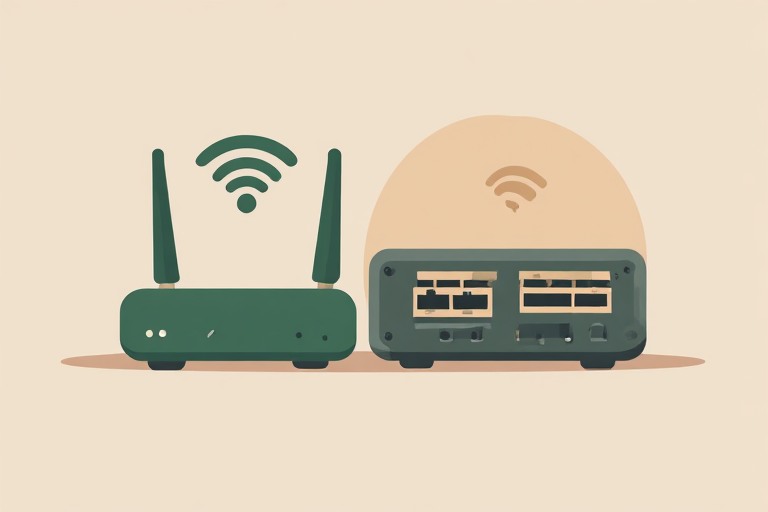
OK, so I don’t want to get too far into the weeds here, but no talk about network segmentation would be complete without giving a brief mention of managed switches and VLANs. If you don’t have any idea what a managed switch or a VLAN is, that is perfectly fine. I only bring them up because they are going to come up in almost all the content that you find.
Are they useful? Absolutely. Are they expensive? Yes they are. Do you need them? No!
For most households, you can get the majority of the benefits with a decent router. Separate Wi-Fi networks which most consumer or prosumer routers will identify as a guest network and possibly an IoT network, will accomplish the same basic goal. Which is to keep different categories of devices from reaching each other.
I will admit, it’s not as airtight as a true VLAN setup with granular firewall rules in place, but let’s face it. That would be overkill for most people. Separate Wi-Fi networks is a major improvement over one flat network and it’s something that most people can implement with the equipment they already own.
How to Segment a Home Network with Three Wi-Fi Networks
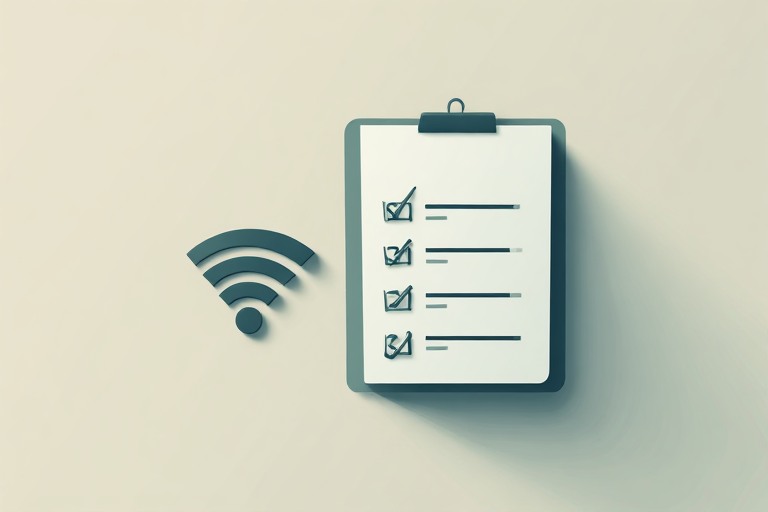
Here is the approach I use. I’ve broken it down into steps you can do over a weekend.
Step 1: Inventory your Devices.
Start by opening your router’s connected-device list and writing down everything on your network. Make sure you include phones, laptops, smart plugs, cameras, printers, anything that connects onto your network. You can’t sort devices into networks until you know what you have. This step generally will reveal a few things you’d forgotten were even connected.
Step 2: Keep your main network for trusted personal devices.
Your existing Wi-Fi network becomes your main network. This means, laptops, phones, and anything that you’d be upset to lose access to or have compromised. This includes your own devices and the devices of the people you live with.
Step 3: Add a Guest Network.
Pretty much all routers sold in the last several years include the ability to setup a guest network. It’s incredibly easy to setup. Simply turn it on, give it a unique name and password, and that’s it! Some also include a setting called “client isolation” or “AP isolation” which keeps guest devices from seeing your main network or each other. If you see that option, turn it on too. Though that option may not exist on all routers.
Step 4: Add a dedicated IoT network, if your router supports it.
This is the step that varies the most by hardware. So be sure to check out the section below before assuming it’s there. If your router or mesh system supports a third network, put your plugs, bulbs, cameras, and voice assistants on it, separate from your main network and your guest network.
Step 5: Confirm the isolation actually works.
Once everything is all set up, test it. From a device on your IoT network, try to reach a device on your main network. It should fail. From your main network, confirm you can still reach anything you mean to keep accessible, such as your media server. Don’t just trust the settings screen. Verify.
Does Your Router Actually Support A Third Network?
So this is where you get what you pay for. Not every router supports a third network. A basic guest network is pretty close to universal at this point and has been for the last decade, even on most ISP-provided routers.
The ability to setup a dedicated third wireless network is a newer feature that is mainly showing up on mid-range and higher consumer routers and mesh systems. It’s only just started showing up in the last few years and it’s not available on most budget models or older hardware.
Before you plan around a third network, check your specific router or mesh system’s settings. There might be an option for an ‘IoT Network’ or something similar. I can tell you, mine doesn’t have that. Mine has an option that says ‘Create New Wireless Network’ and it allows me to create up to 4 total. My main one, my guest one, and up to 2 others.
If it’s not there, you have two reasonable options. First, use the guest network for your IoT devices instead of visitors. Isolation of your gadgets is far more important than someone’s phone during a weekend visit. Second, check for a firmware update that adds the feature. Lots of actively supported models are rolling this feature out, so it’s worth looking into your specific model to see if it supports it.
Frequently Asked Questions
I don’t have any smart devices, do I need to segment?
Yes, I’d still recommend that you segment your network into at least a Primary Network and a Guest network. If you’ve got things like TVs, gaming consoles, or picture frames on your network, you should consider a third network for your IoT devices.
Will three separate Wi-Fi networks slow down my internet?
It will not. The overhead of running multiple Wi-Fi networks is minimal. Typical slowdowns are caused by an underpowered router trying to handle too many devices. That will happen whether you have all your devices on a single network or if you are utilizing home network segmentation.
Can I do this on my ISP-Provided router?
Often you can at least partly do this. Most ISP provided routers support a basic guest network. That dedicated third Wi-Fi network for IoT is far less common on ISP provided hardware. So make sure you check your settings before just assuming it is there.
How many networks should I actually run?
Three is plenty for most households. This should be your primary, your guest, and an IoT network. That should be enough to cover your personal devices, visitors, and smart home gadgets without adding more complexity than you’ll actually want to manage. It’s the version of home network segmentation that most people can maintain long term without needing to think about it constantly.
Will this cause any problems with my smart devices?
I want to be up front about this, while it is a good idea to have all of your IoT devices on a separate network, not all of them are going to play nice when you do this. It all depends on the device and the various integrations it has into your home network. For example, my garage door opener and my light switches all work just fine on that third network. My speakers which connect directly into my media server do not. So keeping that in mind, don’t let perfect be the enemy of good.
Putting things on a third network won’t damage anything, but it can cause a bit of frustration trying to get it working properly. If you can get the bulk of things working on that third network, then you’re doing pretty good.
Start With What You Have
Home network segmentation is incredibly important. It’s so important, that it has a place directly as part of my personal security audit. Even just the basics of setting up a guest network can go a long ways to securing your setup, even if it’s just from keeping guests from accessing your data without your permission.
Home network segmentation doesn’t have to mean a lost weekend of configuration. Turning on your router’s guest network is a real step that is quick and easy. You can probably have it completely configured in under 10 minutes. Adding a dedicated IoT network is a great second step. Slowly move things over to it one at a time. You don’t have to do it all at once.
Each piece narrows what an untrusted or compromised device can reach. This lines up with the same idea behind digital minimalism generally: Fewer things quietly touching more of your life than they need to and choosing the intention behind the setup you actually keep running.
If you’re looking for a more information on securing your home network, I’ve got you covered with my home network security checklist.